
 Adding a kitchen island to your home can completely change the way your kitchen looks and feels. I’m a big fan of kitchen islands because they’re practical, stylish, and make cooking or hanging out in the kitchen way more social. But if you’ve checked prices for custom islands or pro installations, you know things can add up fast. A tight budget doesn’t mean you have to miss out, though. I’ll walk you through how I tackled installing a kitchen island on a budget, with plenty of tips you can use for your own project without spending a fortune.
Whether you’re dreaming of extra counter space, a spot to prep meals, or just a central hub for family and friends to gather, there are clever ways to make it happen for less. Here’s how you can pull it off, step by step.
Dream Up Your Perfect (Affordable) Kitchen Island
Before I even started shopping or planning, I made a wish list. Having a clear idea of what you want helps you focus on smart, practical choices instead of getting distracted by pricey options you don’t need.
Questions to Help You Get Clear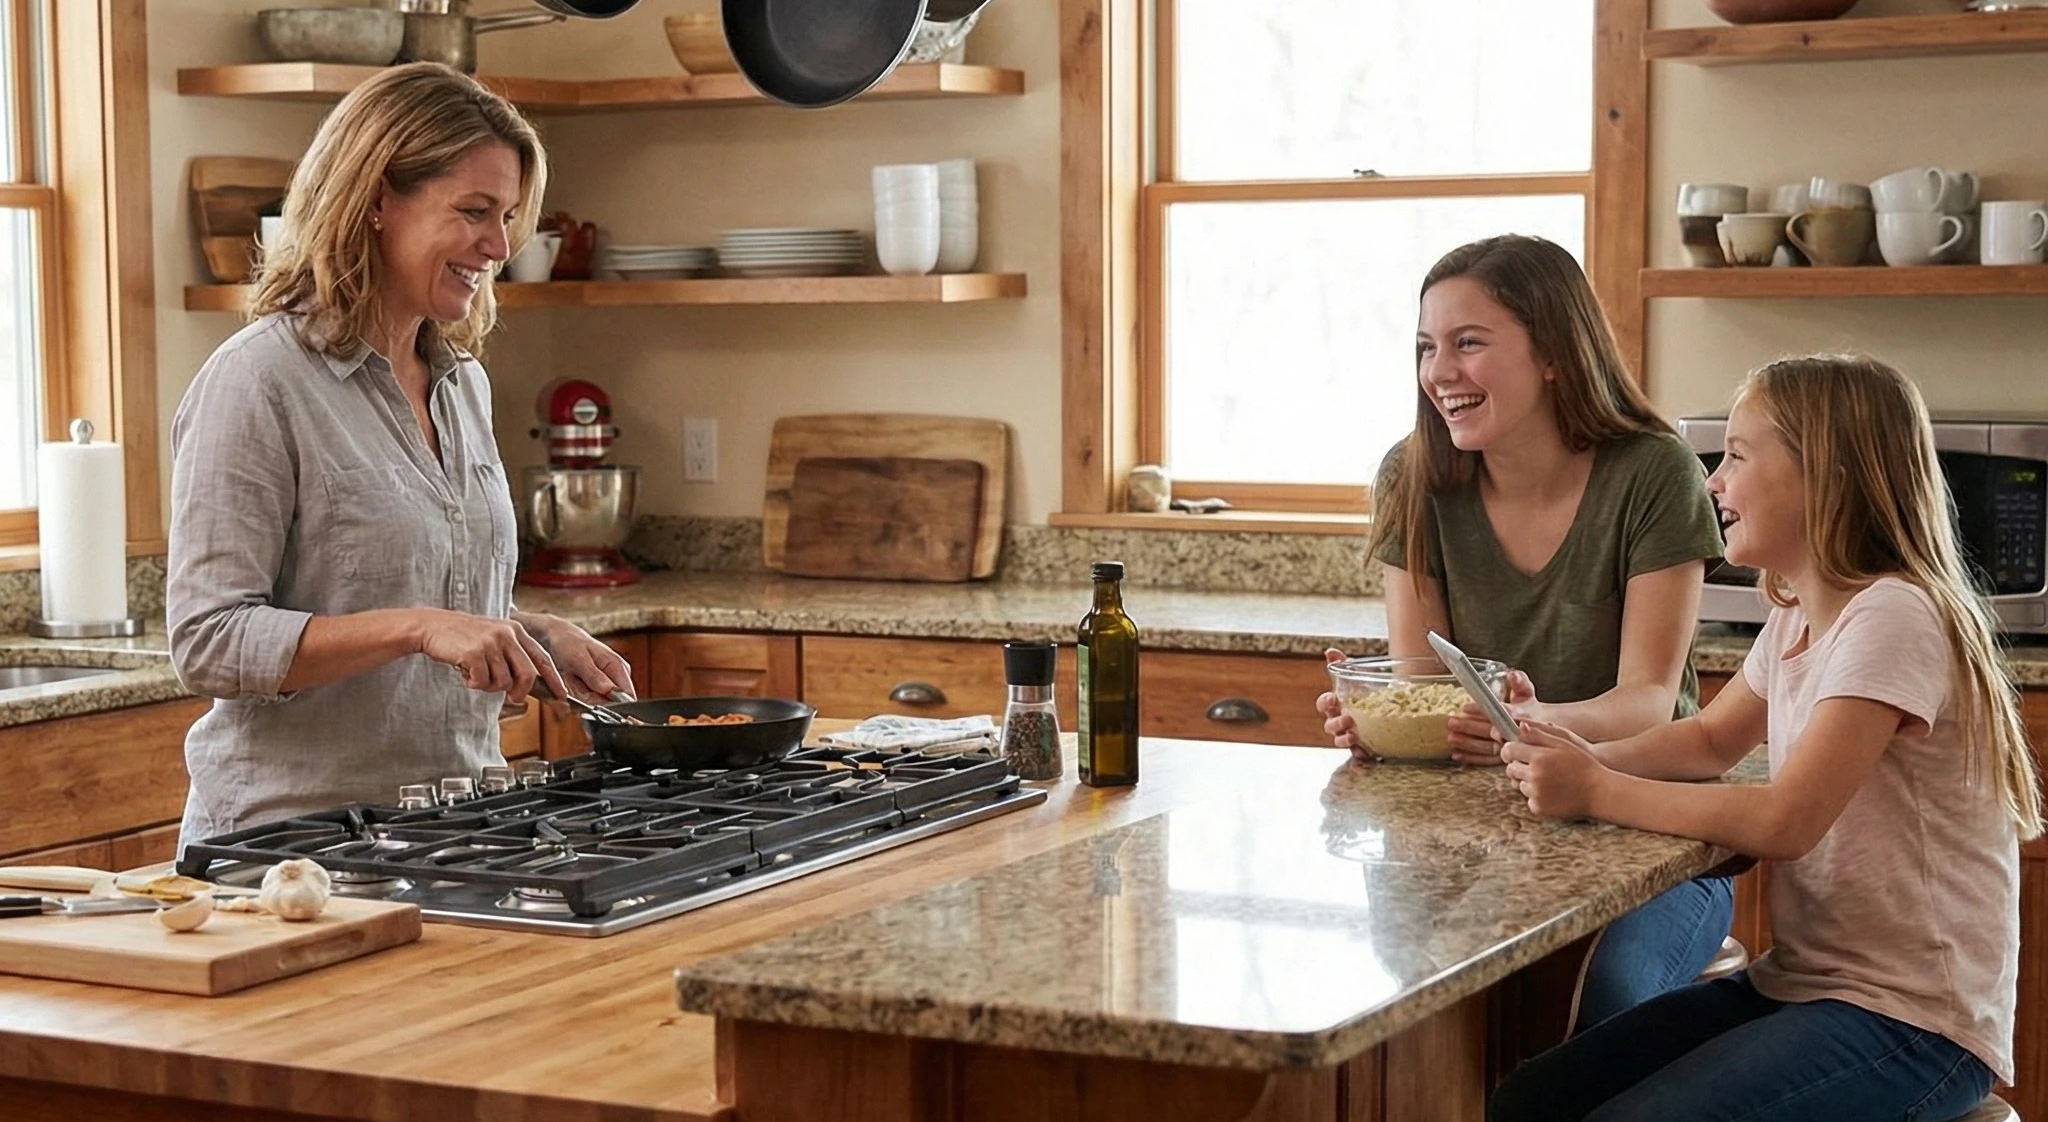
- What main purpose will your island serve? (extra storage, seating, food prep, etc.)
- How much space do you have? Measure carefully; a too big island can crowd the room.
- Do you want open shelves, cabinets, wheels for flexibility, or breakfast bar seating?
- What’s your absolute max budget, including supplies and tools?
While thinking over your answers, remember to picture how often you’ll use your island for different tasks—maybe meal prepping one day and serving snacks the next. Jotting down your priorities on paper can really help when you reach the planning stage. This way, you won’t get sidetracked by features that sound nice but don’t add much for your day-to-day.
Popular Budget Friendly Kitchen Island Styles
- Rolling carts or butcher blocks for small spaces
- Repurposed furniture, like a sturdy dresser or old desk
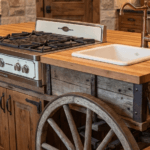
- DIY frame with affordable materials (MDF, plywood, or secondhand wood)
- Ready to assemble islands from big box stores or online deals
Knowing exactly what you want makes planning and shopping so much easier. It also gives you confidence to skip the upsells that don’t really fit your needs.
Plan Out the Project and Set Your Budget
I pulled out a notepad and made a simple checklist. Even if you’re not big on planning, this part pays off. Not only can you spot areas to save money, but you’ll also avoid costly mistakes or mid project surprises. Taking time upfront makes the rest of the process smoother and keeps you from overspending.
How I Set My Budget
- Fix a max “all in” number for materials and supplies
- Break it down (base, top surface, paint/finish, hardware, etc.)

- Add a buffer for unexpected extras (like screws or sandpaper)
It’s a good idea to compare local store prices and browse marketplaces for deals on used materials. Sometimes used cabinets or even extra lumber can help you save a ton. You might also find someone giving away unused construction materials or selling furniture cheap, which you can use for your project. Make sure to factor in delivery or gas costs if you’re picking up anything large.
Also, think about tools—sometimes what you buy or borrow will affect your final budget. If you don’t have certain tools, see if friends or family can lend you what you need for a weekend. Otherwise, stick to designs you can build with what’s on hand to avoid hidden expenses.
Choose Your Materials Smartly
The materials you choose decide both the total cost and the final look. Some islands cost more because they use solid wood, fancy trim, or custom finishes. For a budget build, I stick with practical and affordable choices.
Ideas for Budget Materials
- Plywood or MDF for the base structure (way cheaper than solid hardwood)

- Laminate or butcher block countertops, or even tile for the top
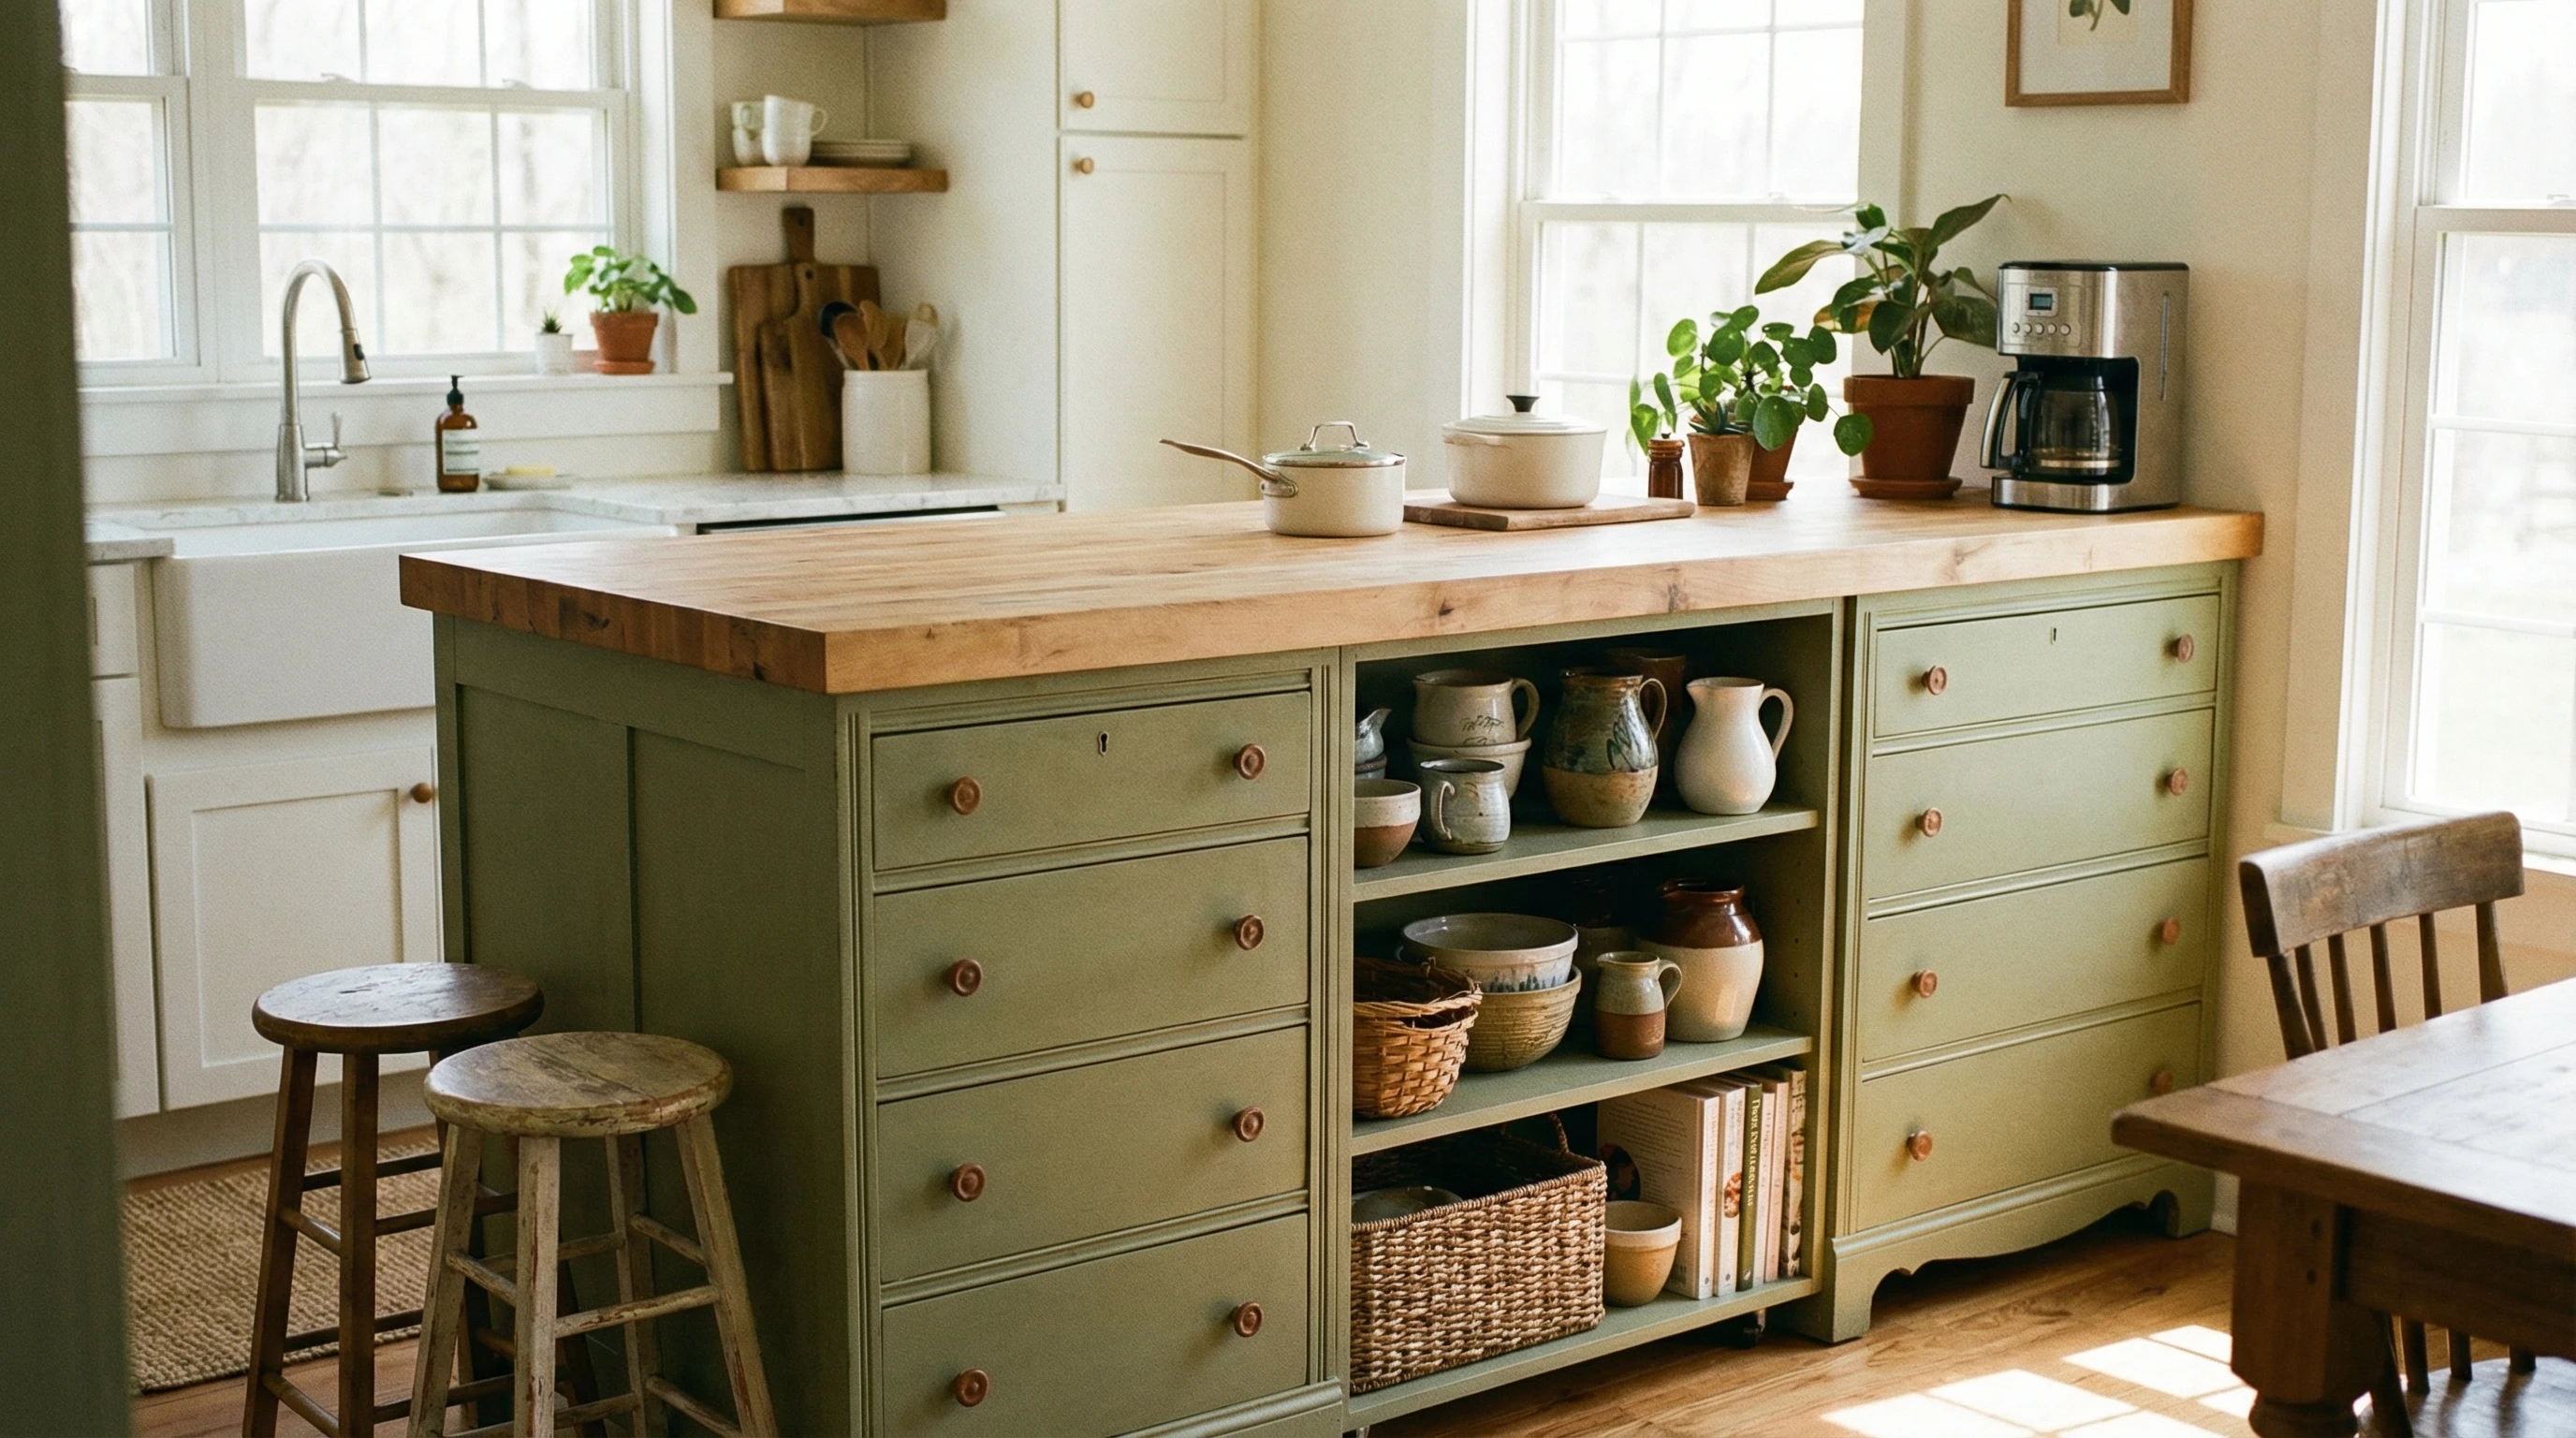
- Secondhand furniture for repurposing—a sturdy dresser or bookshelf can be transformed with minimal tools
- Inexpensive legs or wheels to add function and style
If you go the repurposed route, a trip to thrift stores or online classifieds can land you a great deal on a piece that just needs a paint job or a new top. Think about adding old crates for open storage, or using a salvaged door as the island top for something unique. Old bookshelves with new hardware can make a cool open shelf island for storing kitchen essentials.
Sometimes, you can even stumble upon leftover tiles or wooden planks at yard sales. Collecting these odds and ends ahead of time can make your project both creative and super affordable.
Assemble and Customize Your Island
This is the fun part; putting everything together. If you’re handy, you can frame your island from scratch and customize every inch. But even if DIY isn’t your thing, a simple furniture hack can look awesome.
Step by Step Assembly
- If using furniture, remove old hardware and make any repairs
 Sand any rough surfaces for a smooth finish
- Paint or stain for a fresh look (I used a durable kitchen friendly paint)
- Add a countertop – you can attach butcher block, a premade laminate top, or even a large cutting board
- Secure the island (if needed) to the floor or add locking casters for mobility
- Install any extra shelves, towel bars, or hooks for storage
My favorite quick add ons: sturdy hooks for utensils or dish towels, a small rack for pots, and some baskets for produce or kitchen gadgets. All of these upgrades cost pretty little but make your island so much more useful. You can also add a towel bar on one side for hanging kitchen towels, or use stick-on hooks inside cabinet doors for extra organization.
For additional flair, swap out knobs, try stick-on tiles on the sides, or use a bold color for a next level cool effect. Customizing details is what makes your island stand out without spending big bucks.
Keep Installation Straightforward
If you’re anchoring your island (especially if it’s big, heavy, or being used for seating), it helps to fasten it to the kitchen floor for safety. Most smaller or mobile islands don’t need this, which saves a lot of hassle.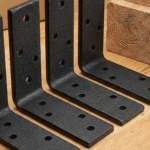
Installation Tips
- Use screws and brackets to anchor islands to the floor, if needed
- If you rent, stick with a mobile or non permanent design so you can move it later
- Make sure there’s plenty of room for walking around; all doors and drawers should open with no bumps
- Check the height. Standard counter height is about 36 inches. If you want bar stools, aim for a taller island (about 42 inches)
Many ready to assemble kits come with instructions, so stick to those if you’re not comfortable freestyling. For custom builds, check YouTube or DIY blogs for walkthroughs with step by step pictures or videos. I find those super useful when I get stuck. If possible, lay out cardboard on your floor to test the size before making anything permanent—this helps you spot problems before you start building.
Remember, you want your kitchen island to work for your lifestyle. If you love to bake, consider adding a marble slab on top for pastry rolling. Love coffee? Build in a nook for your coffee gear. Small tweaks can make a huge difference in daily use.
Useful Ways To Save Even More
I’m always looking for ways to stretch my budget further without sacrificing quality. Here are a few things I do to find deals and avoid overspending.
Money Saving Tips
- Check local buy/sell groups or Facebook Marketplace for materials
- Shop for gently used cabinets or wooden tables at thrift stores
- Ask friends or relatives if they have old furniture you could repurpose
- Wait for seasonal sales on paint, hardware, or building supplies
- Get creative with finishes; contact paper, chalk paint, or tile stickers can give a high end look for less
Sometimes the best islands aren’t built out of expensive materials but good ideas and elbow grease. Even a coat of bold paint or unique drawer pulls can totally change the look for just a few dollars. If you want an eye catching accent, use a different color on the island base than your kitchen cabinets, or add stick-on decals for a fun twist.
Another money saving trick is to team up with a neighbor working on home projects—you might be able to swap leftover materials or share tools. Also, look for community workshops or tool libraries in your area, which can make it easy to put your project together for less.
Quick Troubleshooting & FAQs
How much space should I leave around my island?
For comfortable movement, leave about 36 to 42 inches on all sides. In tight kitchens, a rolling island can be moved out of the way when needed.
Do I need special tools for this?
- A drill, screwdriver, tape measure, and saw (if cutting wood or countertop) come in handy
- Basic sandpaper or a finishing sander for prepping surfaces
- If you’re painting, use a durable paint suitable for kitchens
Any tips for getting a custom look without the price?
Add molding, swap out hardware for stylish handles, or use tile or shiplap panels on the side of your island for a trendy upgrade without big spending. You can also add baskets or open shelves for extra storage and a personalized touch.
If your island feels plain, try attaching wood trim, adding a chalkboard panel, or including a spot for cookbooks. Little additions go a long way, especially when you want a unique, budget friendly island.
Your Step by Step Action Plan
- List your priorities: What do you need most from your kitchen island?
- Measure the space carefully and set your total budget.
- Source inexpensive (or free) materials and tools—check local deals!
- Build or repurpose your base, add a custom top, and finish with paint or stain.
- Install your island and enjoy the extra space and function it brings to your kitchen.
This project really is doable if you plan ahead and get creative. Think about your unique needs, map out your steps, and don’t be afraid to try new materials—sometimes the most eye catching results come from unexpected finds. If you have questions or run into any snags, drop them in the comments—I’m always happy to help brainstorm. Happy building!